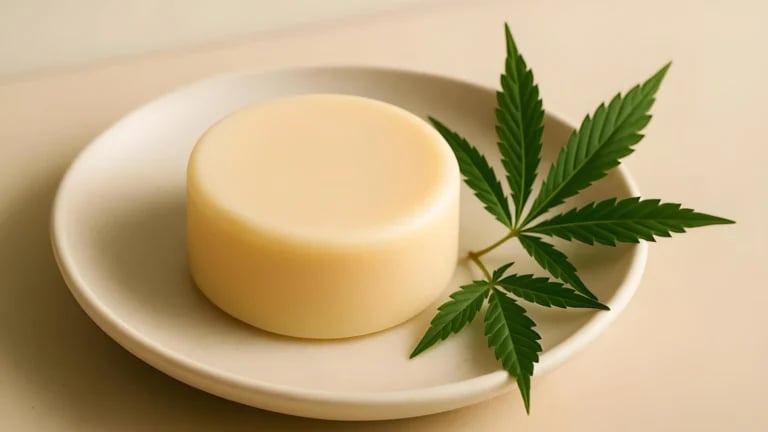
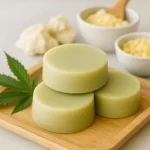
Want a lotion bar that feels rich but never greasy? This emulsified cannabis lotion bar is the upgrade you need. Blending nourishing oils with a mild emulsifier creates a solid bar that melts onto damp skin or hair, absorbs easily, and leaves a soft, non-sticky feeling. Best of all, you can make it at home with simple ingredients and customise it any way you like.
Table of Contents
What is a Cannabis Lotion Bar?
A cannabis lotion bar is a solid moisturiser you can glide straight onto skin or hair. The key to this recipe is the emulsifier, which provides a smoother application, better moisture retention, and a less greasy feel compared to traditional bars. Perfect for anyone who wants lightweight hydration with all the benefits of cannabis oil. For more on how cannabinoids interact with the skin, see this in-depth guide from Project CBD.
Why Choose an Emulsified Lotion Bar?
Most lotion bars are just solid oils, butters, and waxes. They work, but can leave you with slippery hands. An emulsified bar uses an emulsifier, so it mixes with water on your skin and soaks in quickly. This means more hydration, less mess, and a lighter feel. Use it after a shower, or rub onto rough patches and split ends for instant relief.
How to Infuse Oils with Cannabis
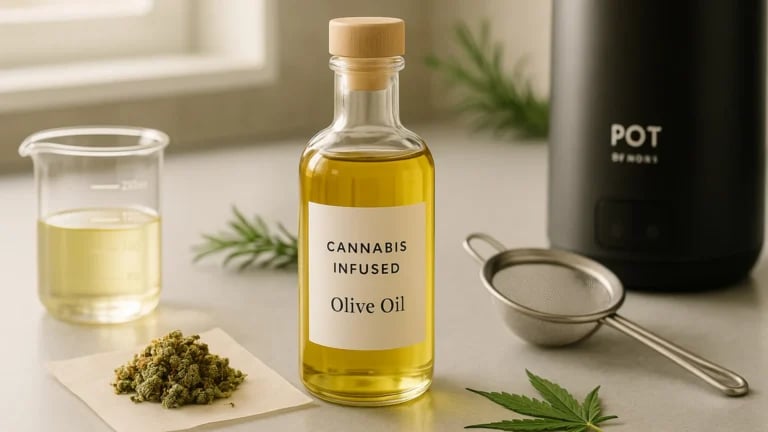
To fully indulge in your cannabis lotion bar experience, begin by infusing your Sweet Almond oil and Fractionated Coconut oil with cannabis. It’s a simple step that makes all the difference! For detailed instructions on dosing and decarbing, check out my guide: How to Infuse Oils with Cannabis for Skincare. To learn more about the science behind cannabis and its compounds, Leafly’s science section is a great resource.
Emulsified Cannabis Lotion Bar
Formulation:
Stage 1: Oil Stage (heated to above 75℃/167℉)
- 8g Beeswax
- 34g Shea Butter
- 10g Cocoa Butter
- 14g Sweet Almond Oil (Cannabis-Infused)
- 11g Fractionated Coconut Oil (Cannabis-Infused)
- 15g Olivem® 1000
Stage 3: Cool Stage (below 40℃/104℉)
- 5g Cornstarch or Arrowroot Powder
- 1g Saliguard® PCG
- 1g Vitamin E
- 1g Essential oils of your choice
100g Total - Silicone Moulds to shape your bars.
Method:
- Put all the Stage 1 ingredients in a double boiler to heat gently.
- When they are all melted, take the inner pan off the double boiler and put it on a heat-safe surface. Quickly whisk in the Arrowroot or Cornstarch and ensure there are no lumps.
- Allow the mixture to cool until it is opaque and as thick as a custard. Ideally, it should be below 40 ℃ / 104 ℉. Stir in the remaining ingredients and mix thoroughly to ensure they are evenly distributed throughout before it is too hard.
- Pour into the silicone moulds and leave to harden. Then place in a fridge to harden up overnight.
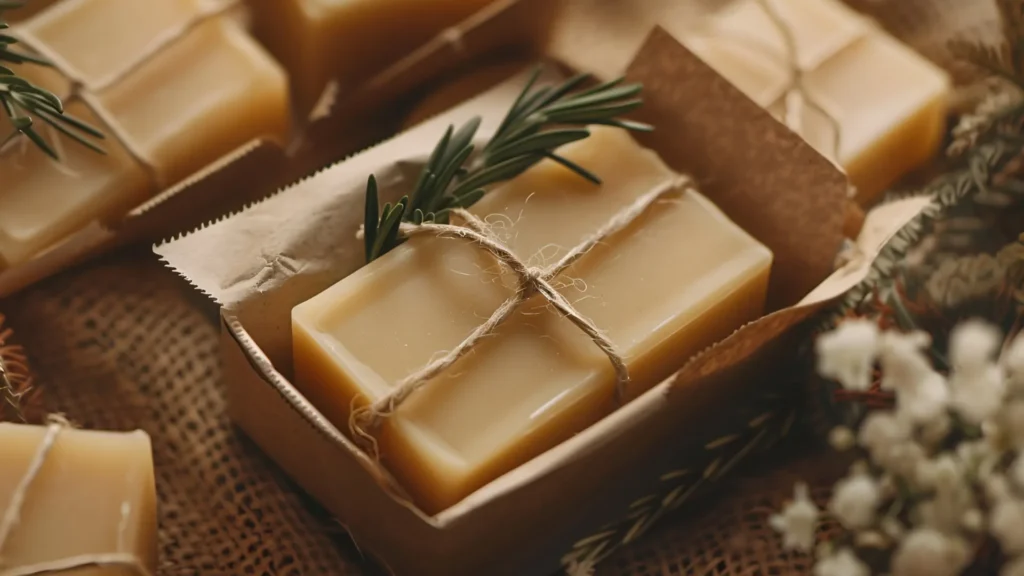
- Remove from the moulds and wrap in baking parchment. Store out of direct sunlight.
This recipe is for 100g and makes roughly 4 small lotion bars, depending on the mould size.
How to Use a Cannabis Lotion Bar
Gently glide the bar over clean, damp skin or apply it to the tips of your hair. The warmth of your skin helps it melt and deliver moisture where you need it. For hair, a little goes a long way. Perfect for dry elbows, knees, feet, or as a solid conditioner.
Ingredients Spotlight
Beeswax
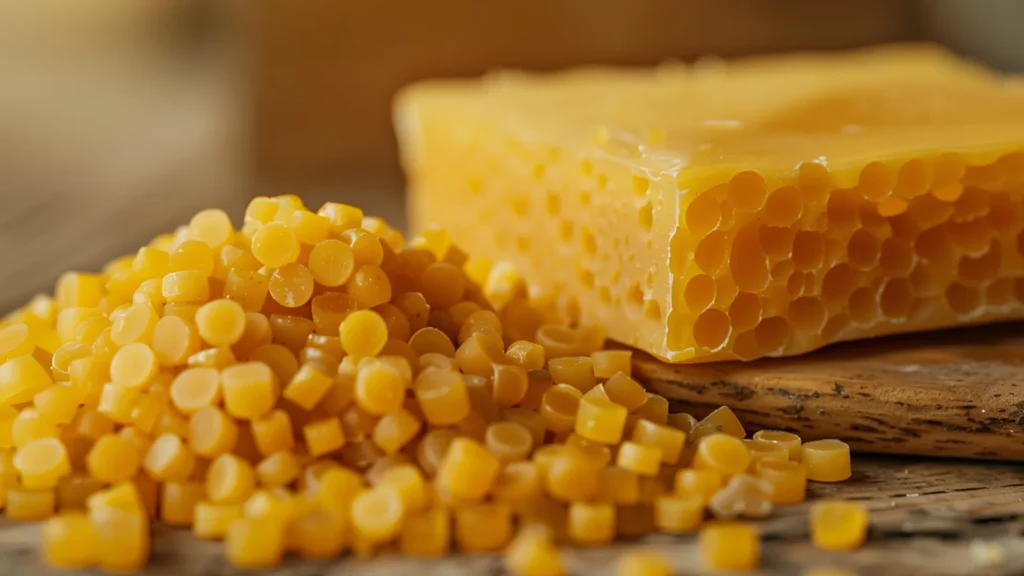
Natural beeswax helps keep your lotion bar solid, even in warm weather. It forms a gentle barrier on the skin, locking in moisture without clogging pores. Beeswax also brings a touch of natural honey scent and has mild antibacterial properties.
*As an Amazon Associate, I earn from qualifying purchases.
Shea Butter
This smooth, creamy butter is packed with vitamins A and E. It really hydrates dry or irritated skin, helps strengthen your skin’s protective barrier, and works to cut down on flakiness. Shea butter gives your bar that ultra-soft glide and helps repair skin after exposure to the sun or cold. You can read more about Shea Butter Benefits and check out the great Body Butter recipe as well.
*As an Amazon Associate, I earn from qualifying purchases.
Cocoa Butter
Known for its firm texture and subtle chocolate scent, cocoa butter gives your lotion bar a smooth, velvety finish. It’s high in fatty acids, which means it hydrates deeply and adds strength to the bar, making it last longer in use.
*As an Amazon Associate, I earn from qualifying purchases.
Sweet Almond Oil (Cannabis-Infused)
Sweet almond oil is gentle and easily absorbed, bringing cannabis benefits directly to the skin. It’s packed with vitamins E and D, calms irritation, and leaves your skin silky and not oily. Infusing with cannabis takes it up a notch, supporting soothing and repair. Before diving in, make sure your cannabis oil is infused properly. Learn how to do it right in this complete guide How to Make Cannabis Infused Oils.
*As an Amazon Associate, I earn from qualifying purchases.
Fractionated Coconut Oil (Cannabis-Infused)
This light, stable oil soaks in fast and helps the bar feel non-greasy. Fractionated coconut oil effectively delivers active ingredients like cannabis, adds moisture, and keeps your bar light and non-sticky on the skin.
*As an Amazon Associate, I earn from qualifying purchases.
Olivem® 1000
Olivem® 1000, derived from olives, is the key ingredient that enables the seamless blending of water and oils. It gives your bar its creamy, lotion-like texture and helps the ingredients absorb quickly. It’s mild, plant-based, and suitable for sensitive skin.
*As an Amazon Associate, I earn from qualifying purchases.
Cornstarch or Arrowroot Powder
Both powders help cut any greasy feel, leaving a silky, powdery finish. They also help your bar glide smoothly and prevent stickiness on skin and hair.
Saliguard® PCG
This gentle, broad-spectrum preservative keeps your lotion bar fresh and safe, especially when applied to damp skin or stored in the bathroom. It prevents the growth of mould, yeast, and bacteria.
*As an Amazon Associate, I earn from qualifying purchases.
Vitamin E
A natural antioxidant, vitamin E extends the shelf life of your oils and gives extra support for skin repair. It’s soothing, protects against free radicals, and helps keep your bar fresh for longer.
*As an Amazon Associate, I earn from qualifying purchases.
Essential Oils
A few drops of essential oil bring natural fragrance and extra skin or hair benefits. Lavender calms, citrus lifts your mood, and woody oils like Cedarwood or Black Spruce help ground you. Give some thought as to how and when you will use your lotion bars. If it is mid-winter, Peppermint will be too cooling on your skin. However, Spearmint will be wonderful in the summer. Just use a safe amount, as too much can irritate. If you like essential oils, read more about Holistic Aromatherapy.
Silicone Moulds
Silicone moulds give your bars a neat shape and make unmoulding easy. Choose small, easy-to-hold shapes for daily use and effortless clean-up.
*As an Amazon Associate, I earn from qualifying purchases.
Troubleshooting Your Lotion Bars
- Too hard? Use less wax next time.
- Too greasy? Choose lighter oils like MCT oil.
- Bars stuck in the mould? Let them warm a little before unmoulding.
- Faded scent? Use strong essential oils and keep bars airtight.
- Want them vegan? Swap beeswax for candelilla wax.
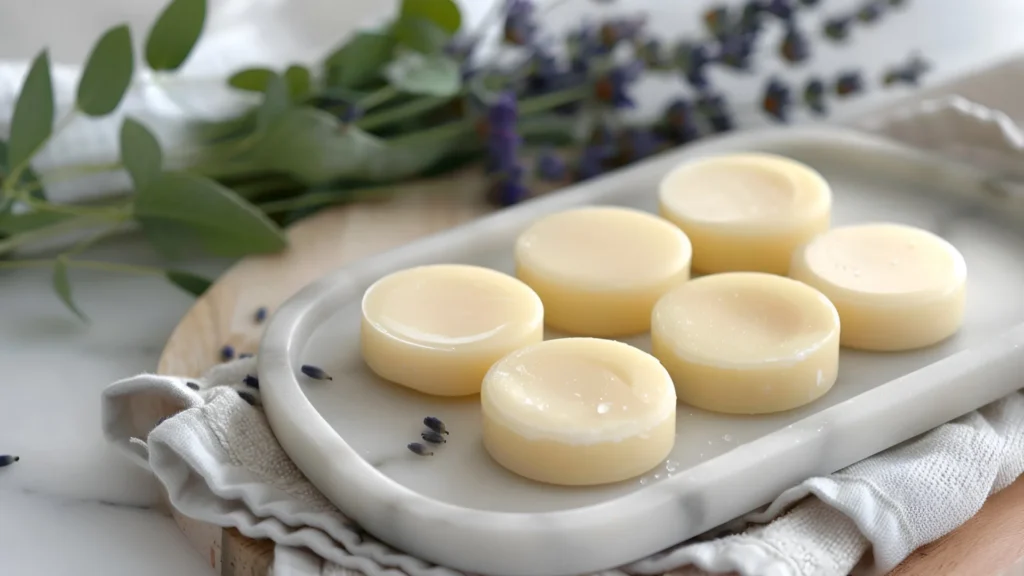
Bars will last up to 6 months thanks to vitamin E and stable oils. Store in a tin or jar, away from heat and sunlight.
Conclusion
Making your own emulsified cannabis lotion bar is easier than you might think. Using just a few simple ingredients, you can create a moisturising lotion that applies smoothly, deeply hydrates, and feels non-greasy. Once you’ve tried it, you’ll wonder how you ever managed without one. Give it a go, tweak the formula to suit you, and enjoy softer skin and hair every day.
FAQ
What is an emulsified cannabis lotion bar?
An emulsified cannabis lotion bar is a solid moisturiser that uses an emulsifier to blend oils, butters, and water. This gives it a creamy, non-greasy texture that absorbs quickly and hydrates both skin and hair.
How do you use a cannabis lotion bar?
Rub the bar onto clean, damp skin or the ends of your hair. The warmth from your skin melts a little of the bar, making it easy to spread and absorb.
Can I use a cannabis lotion bar on my face?
Yes, you can use a cannabis lotion bar on your face if your skin tolerates the ingredients. Go for a light application and patch test first, especially if you have sensitive skin.
How do you store a lotion bar?
Keep your lotion bar in a tin, jar, or soap dish away from heat and direct sunlight. Make sure it dries out between uses to extend its shelf life.
Does a cannabis lotion bar need a preservative?
To prevent mould and bacteria, it’s best to add a preservative to emulsified lotion bars since they may come into contact with damp skin or water during use. Vitamin E helps with shelf life, but it is not a preservative.
How long does a homemade lotion bar last?
Stored properly, a lotion bar can last up to six months. Using a preservative and keeping it dry between uses helps it stay fresh.
Can I make a vegan cannabis lotion bar?
Absolutely. Swap beeswax for candelilla wax and choose plant-based oils and butters.
How can I customise my lotion bar recipe?
You can change the oils and butters, adjust the wax for a harder or softer bar, and use different essential oils to create your own signature scent.

If you liked this blog post, I would love it if you shared it with a friend.
If you use Pinterest, please pin this post.
*As a POT by NOIDS affiliate, I earn from qualifying purchases.
*As an Amazon Associate, I earn from qualifying purchases.


